기존 Qnap NAS를 처분하고 미니PC를 한대 당근으로 구매해서 블로그를 옮겼습니다.
오랫만에 서버 설치부터 웹서버 구성에 삽질하게 되나 싶었는데 별 문제 없이 마무리되어 기록 차원에서 포스팅합니다.
설치 목록
- Ubuntu Server 24.04.4 LTS 기본 설치 후 설정
- Nginx 1.24.0 설치
- PHP 8.5.3 설치
- MariaDB 10.11.14 설치
- WordPress 설치 및 이전
- 데이터베이스 및 파일 복구
Ubuntu Server 24.04.4 LTS 기본 설치 후 설정
우분투 홈페이지에서 24.04 이미지 다운로드 후 USB 메모리 준비 후 balenaEtcher 를 이용해 부팅 미디어를 만들고 설치를 시작. 기본 서버 옵션으로 설치한 이후 IP 설정 및 SSH 접속 설정 후 본격적인 워드프레스 설치를 시작합니다.
# 패키지 목록 업데이트
bighead@bigcentre:~$ sudo apt update

# 기본 설치 패키지 업데이트 수행
bighead@bigcentre:~$ sudo apt upgrade -y

# 필수 유틸리티 설치
bighead@bigcentre:~$ sudo apt install software-properties-common ca-certificates lsb-release apt-transport-https net-tools -y
Nginx 1.24.0 설치
# nginx 패키지 설치
bighead@bigcentre:~$ sudo apt install nginx -y

# nginx 웹서버 시작
bighead@bigcentre:~$ sudo systemctl start nginx

# 부팅 시 nginx 자동 시작 설정
bighead@bigcentre:~$ sudo systemctl enable nginx

# nginx 실행 및 설정 확인
bighead@bigcentre:~$ sudo systemctl status nginx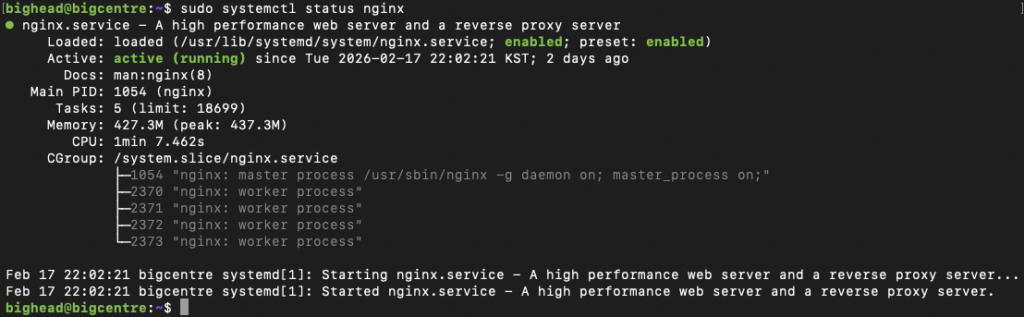
# nginx 웹서버 설정
bighead@bigcentre:~$ sudo vi /etc/nginx/sites-available/wordpress

server {
    listen 80;
    server_name bighead.kr www.bighead.kr;
    root /var/www/wordpress;
    index index.php index.html index.htm;

    # 로그 파일
    access_log /var/log/nginx/wordpress_access.log;
    error_log /var/log/nginx/wordpress_error.log;

    # 파일 업로드 크기 제한
    client_max_body_size 64M;

    # WordPress 고정 링크 지원
    location / {
        try_files $uri $uri/ /index.php?$args;
    }

    # PHP 처리
    location ~ \.php$ {
        include snippets/fastcgi-php.conf;
        fastcgi_pass unix:/var/run/php/php8.5-fpm.sock;
        fastcgi_param SCRIPT_FILENAME $document_root$fastcgi_script_name;
        include fastcgi_params;
        fastcgi_buffers 16 16k;
        fastcgi_buffer_size 32k;
    }

    # 정적 파일 캐싱
    location ~* \.(js|css|png|jpg|jpeg|gif|ico|svg)$ {
        expires 30d;
        add_header Cache-Control "public, immutable";
    }

    # 숨김 파일 접근 차단
    location ~ /\. {
        deny all;
    }

    # xmlrpc.php 보안 (필요시 IP 제한)
    location = /xmlrpc.php {
        deny all;
    }
}

# nginx 설정 후 재시작
bighead@bigcentre:~$ sudo ln -s /etc/nginx/sites-available/wordpress /etc/nginx/sites-enabled/

# nginx 기본 사이트 비활성화
bighead@bigcentre:~$ sudo rm /etc/nginx/sites-enabled/default

# nginx 재시작
bighead@bigcentre:~$ sudo systemctl restart nginx
PHP 8.5.3 설치
# PHP 최신 버전 설치를 위한 저장소 추가
bighead@bigcentre:~$ sudo add-apt-repository ppa:ondrej/php -y

# 패키지 목록 업데이트
bighead@bigcentre:~$ sudo apt update

# PHP 8.5 및 필수 확장 모듈 설치
bighead@bigcentre:~$ sudo apt install php8.5-fpm php8.5-mysql php8.5-curl php8.5-gd php8.5-mbstring php8.5-xml php8.5-zip php8.5-intl php8.5-bcmath php8.5-imagick

# PHP-FPM 실행
bighead@bigcentre:~$ systemctl start php8.5-fpm

# 부팅 시 PHP-FPM 자동 시작 설정
bighead@bigcentre:~$ systemctl enable php8.5-fpm

# PHP-FPM 실행 및 설정 확인
bighead@bigcentre:~$ systemctl status php8.5-fpm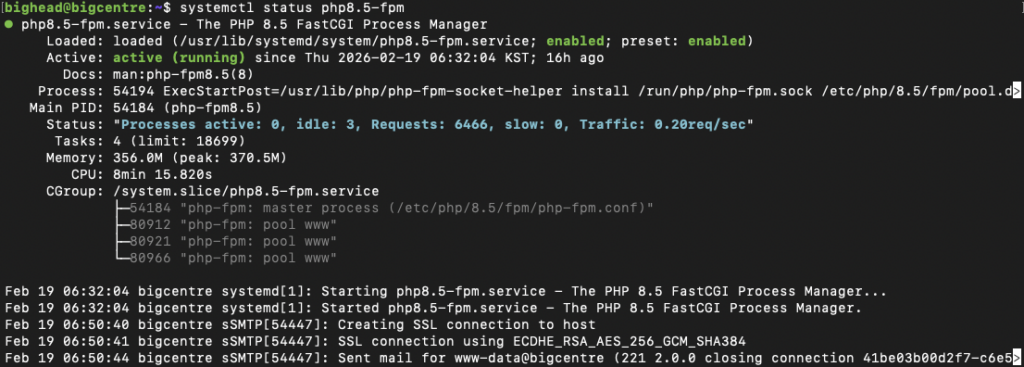
# PHP 환경 설정
bighead@bigcentre:~$ vi /etc/php/8.5/fpm/php.ini

upload_max_filesize = 64M
post_max_size = 64M
max_execution_time = 300
memory_limit = 256M
MariaDB 10.11.14 설치
# MariaDB 설치
bighead@bigcentre:~$ sudo apt install mariadb-server mariadb-client -y

# MariaDB 서비스 시작
bighead@bigcentre:~$ sudo systemctl start mariadb

# 부팅 시 MariaDB 자동 시작 설정
bighead@bigcentre:~$ sudo systemctl enable mariadb

# MariaDB 기본 보안 설정
bighead@bigcentre:~$ sudo mysql_secure_installation
Enter current password for root (enter for none): [엔터]
Set root password? [Y/n] Y
New password: [새로운 DB root 암호 입력]
Re-enter new password: [새로운 DB root 재입력]
Remove anonymous users? [Y/n] Y
Disallow root login remotely? [Y/n] Y
Remove test database and access to it? [Y/n] Y
Reload privilege tables now? [Y/n] Y

# MariaDB 접속
bighead@bigcentre:~$ mysql -uroot -p
Enter password: [새로운 DB root 재입력]

# 워드프레스용 데이터베이스 생성
MariaDB [(none)]> CREATE DATABASE wordpress CHARACTER SET utf8mb4 COLLATE utf8mb4_general_ci;

# 데이터베이스 사용자 생성
MariaDB [(none)]> CREATE USER 'wordpress'@'localhost' IDENTIFIED BY 'password';

# 워드프레스 데이터베이스에 사용자 권한 부여
MariaDB [(none)]> GRANT ALL PRIVILEGES ON wordpress.* TO 'wordpress'@'localhost';

# 사용자 권한 적용
MariaDB [(none)]> FLUSH PRIVILEGES;
WordPress 설치 및 이전
기존에 워드프레스 폴더 및 데이터베이스는 백업한 상태에서 작업 시작.
# 워드프레스 최신버전 새로 설치 (한글 워드프레스 다운로드 페이지)
bighead@bigcentre:~$ wget https://ko.wordpress.org/latest-ko_KR.zip
bighead@bigcentre:~$ mv latest_ko_KR.zip /var/www

# 워드프레스 소스 파일을 nginx 웹루트 폴더에 풀기
bighead@bigcentre:~$ sudo apt install unzip -y
bighead@bigcentre:~$ cd /var/www
bighead@bigcentre:~$ unzip latest-ko_KR.zip

# 워드프레스 설치 페이지 접속
웹브라우저로 http://bighead.kr 접속 후 설치 페이지 안내에 따라 생성한 데이터베이스 정보와 사용자명 입력 후 설치 완료
데이터베이스 및 파일 복구
# 백업한 데이터베이스 복구
bighead@bigcentre:~$ sudo mysql -uroot -p wordpress < wordpress_backup.sql

# 백업한 워드프레스 파일 복구 (백업한 파일을 임시 폴더에 압축 해제한 후 파일 복구)
bighead@bigcentre:~$ cd [임시폴더]
bighead@bigcentre:~$ sudo cp -R wp-content/uploads /var/www/wordpress/wp-content

# 기존 사용했던 테마 복구 (커스텀한 테마가 아니라면 그냥 새로 설치)
bighead@bigcentre:~$ sudo cp -R wp-content/theme /var/www/wordpress/wp-content

# 파일 소유권 및 권한 부여
bighead@bigcentre:~$ sudo chown -R www-data:www-data /var/www/wordpress
bighead@bigcentre:~$ sudo find /var/www/wordpress/ -type d -exec chmod 755 {} \;
bighead@bigcentre:~$ sudo find /var/www/wordpress/ -type f -exec chmod 644 {} \;
이후 관리자로 워드프레스 로그인해서 플러인 설치와 테마 설정등 마무리 하시면 됩니다.
답글 남기기